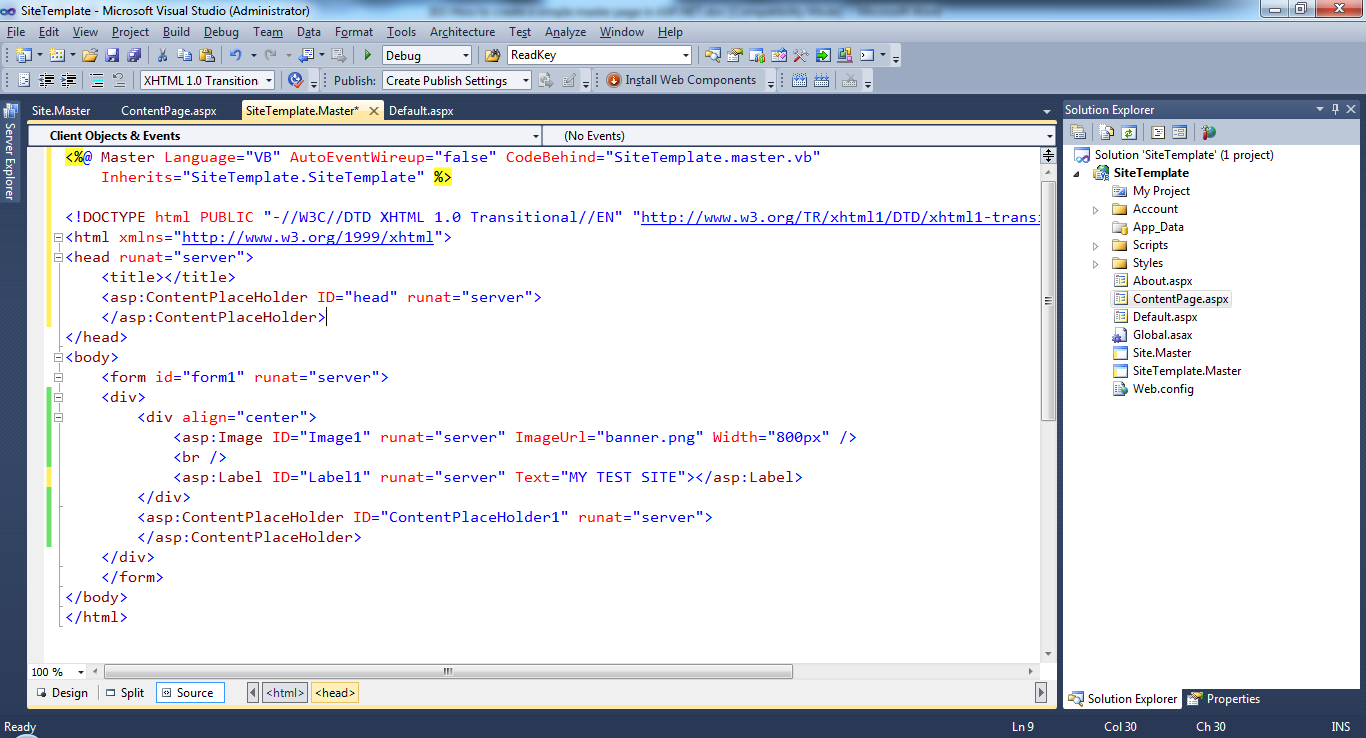
You can create a master page by following the next steps in Visual Studio:
1. Select Website ➤ Add New Item from the menu.
2. Select Master Page
3. Give it a filename for example SiteTemplate.master
4. Click Add.
A master page is a similar to an ordinary ASP.NET web form and can include HTML, web controls and code (either in an inline script block or in a separate file). One difference is that while web forms start with the Page directive, a master page starts with a Master directive that specifies the same information, as shown:
In VB.NET
<%@ Master Language=”VB” AutoEventWireup=”false” CodeBehind=”SiteTemplate.master.vb” Inherits=”SiteTemplate.SiteTemplate” %>
In C#
<%@ Master Language=”C#” AutoEventWireup=”false” CodeBehind=”SiteTemplate.master.cs” Inherits=”SiteTemplate.SiteTemplate” %>
Another difference between master pages and ordinary web forms is that master pages can use the ContentPlaceHolder control, which isn’t allowed in ordinary pages. The ContentPlaceHolder is a portion of the page where the content page can insert content. When you create a new master page in Visual Studio, you start with a blank page that includes two
ContentPlaceHolder controls:
1. The first one is defined in the <head> section and gives content pages the ability to add page metadata, such as search keywords and stylesheet links.
2. The second, more important ContentPlaceHolder is defined in the <body> section, and represents the displayed content of the page. It appears on the page as a faintly outlined box. If you click inside it or hover over it, the name of the ContentPlaceHolder appears in a tooltip (see the next figure). To create more sophisticated page layouts, you can add additional markup and ContentPlaceHolder controls.
Note: Master pages can’t be requested directly. To use a master page, you need to build a linked content page.

